|
Have you ever wanted to know more about the wonderful and versatile calabash? I am working on making some for our online store, and am sharing traditional and alternative ways to prepare them for the purpose of creating a functional art piece of your own. PART ONE
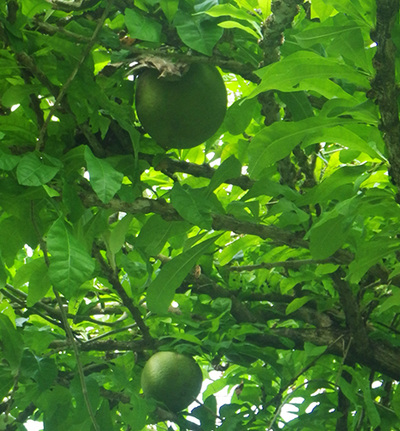
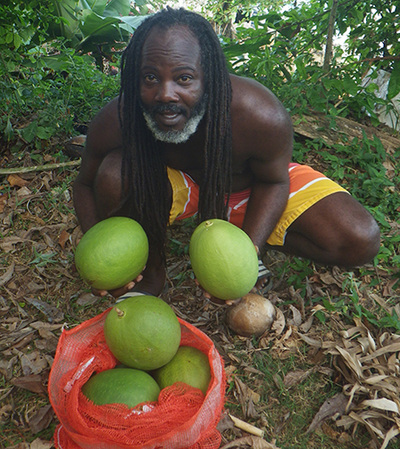
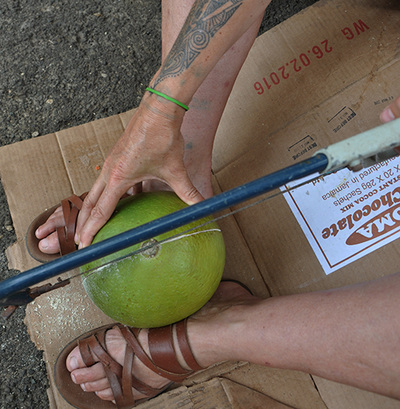
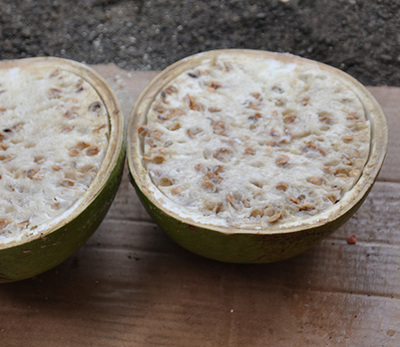
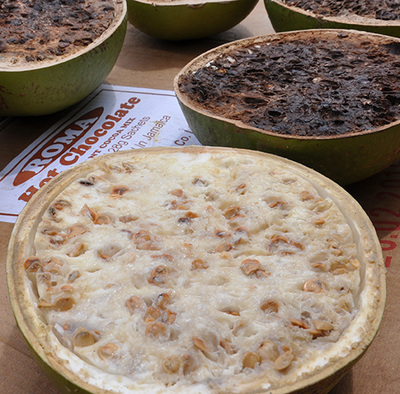
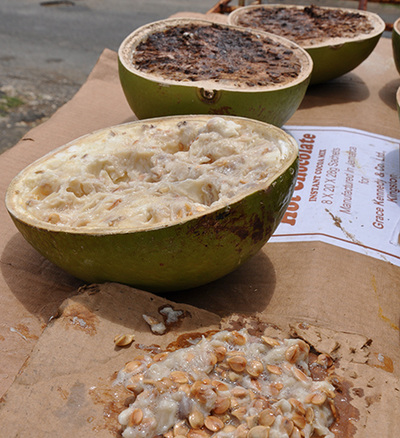
1: Find a good calabash tree. You want to find a tree that has calabash on them. Make sure to knock on the calabash and 'hear' if it sounds hard and firm. Press it in hard on the surface to see if it has any 'give'. If you can push it in at all, it is not ready. The calabash will be very thin, can bend and easily break. Let it stay on the tree to fully mature. The calabash should NOT have a lot of black lines or markings on them. When you see black spots that are rough this can indicate worms inside. These worms create built up areas inside the calabash that are solid and hard to remove. When you remove these areas, there are holes left from where the worm worked its way inside. Choose a very clean and smooth calabash. Twist it off the branch and carry in a bag where it will not get scratched up. Do not deplete the tree of all the calabash. 2. Cutting the calabash (warning - calabash stains the skin and your hands will be black/grey for days if you dont wear gloves. / anything the stain touches will be dyed) After decades of working with calabash I find a hacksaw to be my favorite tool to cut it with. I create a line with the hacksaw lightly around the area I want to cut. It can be drawn on if you want. The easiest way to hold calabash and cut it without scratching the green surface (this leaves dark lines on it that will be permanent) is to cut/saw the calabash on some cardboard with it held between your feet. Keep turning the calabash as you cut it all the way around following your line. 3. Removing the pulp This part is crucial and is where the hard work comes in. Or not, - as I discovered some years ago through a mistake that turned out to be a blessing in disguise. The calabash is usually scraped out after cutting removing all the pulp and seeds. This is done with a large spoon which can be sharpened with a file for easier scraping. If every part of flesh is not scraped out the black stain residue will remain on your bowls inside surface. It takes an awful lot of scraping to not see any black stain. Till your hands are tired. BUT - i have found a better way than scraping the calabash. I left some out after they ware cut with the pulp still inside, and had to leave them for four or so days unattended. When i returned I assumed the inside would be ruined with the flesh having turned very black after being exposed to light. I was going to throw them away, but tried to scrape out one anyway. I saw it was very dry, and could pull away the flesh from the inside surface in one whole piece. Just put the spoon between flesh and inside edge and pull it off. The inside surface was totally clean and had NO black stain on it at all. This is now the way I remove the flesh. I leave it in a dry and sunny area, wait for the pulp to be black and dry, then pull it out. It produces a very clean stain free calabash without all the hard work. STAY POSTED FOR PART TWO : The Design
0 Comments
Your comment will be posted after it is approved.
Leave a Reply. |
our blogLOVING - LIVING - LEARNING - GIVING Archives
June 2016
Categories |
 RSS Feed
